



How to Use a Gas Test Pressure Gauge: Step-by-Step Instructions
 Sep 10, 2026|
 View:459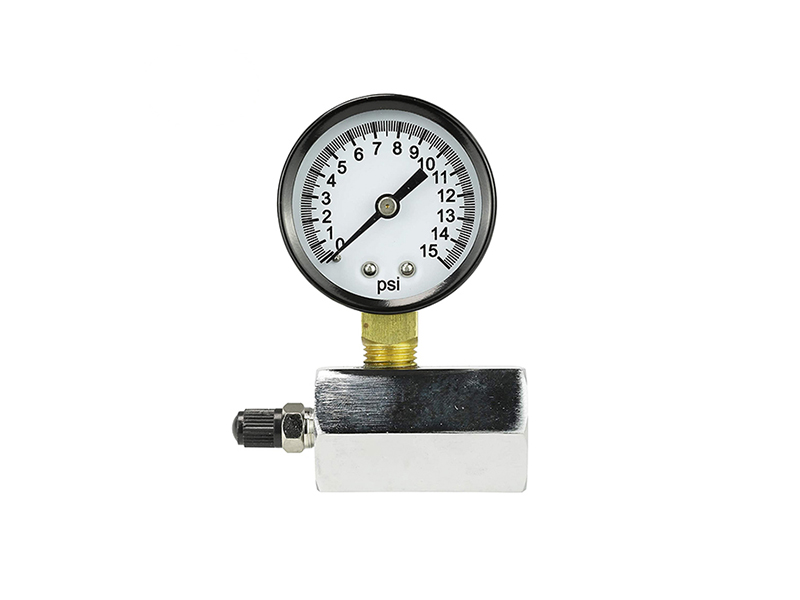
A 30 lb gauge works well for low-pressure gas line tests. This choice follows the one-fifth gauge rule. The gauge's highest reading should be at least five times the test pressure. Most home gas line tests run at 6 psi. A 30 lb gauge keeps the needle near the middle of the dial. That is where readings stay most accurate.
Picking the right gauge matters before any testing starts. This guide walks you through choosing a 2% accuracy Gas Test pressure gauge. It also covers setup, isolating, purging, applying pressure, monitoring, leak detection, temperature correction, and documentation.
Key Takeaways
Use the one-fifth rule to pick a gauge for your test pressure.
Use nitrogen to clear the line before you add pressure. This helps you get accurate results.
Keep an eye on the pressure dropping, and look for leaks with soap bubbles or electronic sensors.
Make sure temperature changes stay within 5°F, and write down all test details.
Select the Right Gas Test Pressure Gauge
Apply the One-Fifth Rule
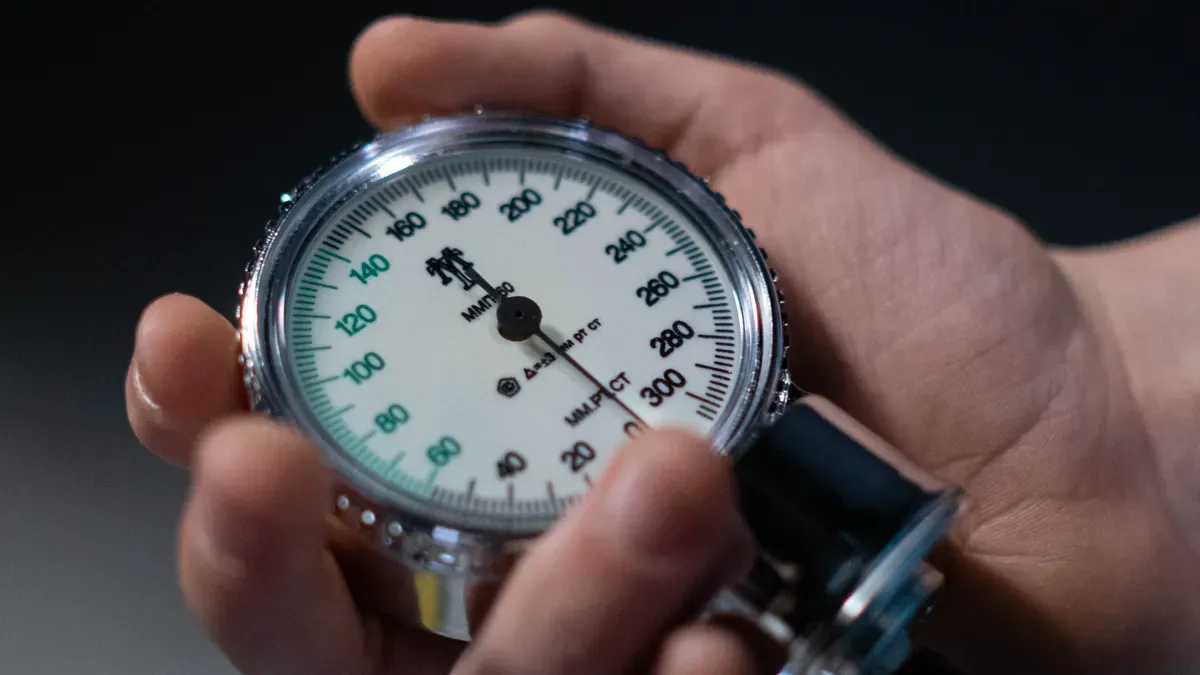
The one-fifth rule is the basis for choosing a gauge. It says the gauge's maximum range must be at least five times the test pressure. For a 6 psi test, a 30 lb gauge works best. This keeps the needle near the middle of the dial, where mechanical gauges are most accurate.
The 2012 International Fuel Gas Code, Section 406.4, supports this practice:
Mechanical gauges used to measure test pressures shall have a range such that the highest end of the scale is not greater than five times the test pressure.
A gauge with a range too close to the test pressure pushes the needle to the far end of the scale. There, small mechanical errors turn into large reading errors. You might miss a slow leak completely. A gauge with a range far above five times the test pressure also causes problems. The needle barely moves during the test, so you cannot spot small pressure drops. The one-fifth rule balances these two extremes.
Confirm Accuracy and Range
Accuracy and dial size work together to determine how well you can read a Gas Test pressure gauge. A gauge should have a minimum diameter of 3 inches (75 mm) and 2% accuracy for reliable readings. Dial size directly affects reading accuracy by influencing readability. Larger dials allow faster and easier readability and lower the chance of misreading. Smaller dials work for easily accessible spots where precision matters less. For gas line testing, where a small pressure drop means a leak, you want the largest dial that fits your setup.
Changzhou KB Instruments & Meter Co., Ltd. has manufactured Pressure Gauges since 2009. With over 15 years of experience and a 96% customer satisfaction rate, the company has built a reputation for reliable instruments. Their PG-01E Gas Test Pressure Gauge offers a practical option for low-pressure gas line testing.
Feature | PG-01E Specification |
|---|---|
Dial size | 2 inches (50 mm) |
Accuracy | 2.5% |
Pressure range | 0 to 16 bar |
Valve thread | 3/4" BSP |
Body material | Chrome-plated steel or brass hexagon |
Protection class | IP43 |
Face material | Durable plastic |
Case material | Steel |
The PG-01E measures gas pressure in tanks up to 15 psi with precise 1/10th increments. Its durable plastic face resists breaking. The chrome-plated body adds safety. The steel case provides long-lasting performance. The clear facing allows easy reading of pressure measurements. The gauge fits onto 3/4 inch MPT threads, so installation is straightforward.
The PG-01E works well for tank pressure monitoring. It provides reliable and accurate readings. Its robust construction and high-quality materials ensure durability and safety in demanding environments. Whether you use it in industrial settings or for commercial purposes, the PG-01E delivers consistent performance and ease of use.
When you pick a gauge, check the range against your test pressure first. Then confirm the accuracy class and dial size. A 2% accuracy gauge with a 3-inch dial gives you the best mix of precision and readability. For tighter spaces, a smaller dial with good accuracy still works. The key is matching the gauge to your specific test conditions.
Set Up and Isolate the Test Section
Set Up at 6 psi
You start by hooking up a regulator or manifold to the gas line. This tool lets you set the test pressure to 6 psi. Many home gas systems use 30 psi instead, so check your local code before you start. NFPA 54 (National Fuel Gas Code, 2024 edition) says gas piping must hold at least 10 psi for some tests. Your authority having jurisdiction (AHJ) decides the final number. Always ask your local inspector for the right pressure first.
Attach your Gas Test pressure gauge near the pressure source. Then connect a second gauge at the farthest point from the source. This second gauge shows pressure drop across the whole system. A single gauge only tells you pressure at one spot. Two gauges show if pressure stays the same everywhere. That difference is important when you look for leaks later.
Isolate with Valves and Tee
You separate the test section with ball valves and a test tee. Close the ball valves to block off the test section from the rest of the system. The test tee gives you a special port for your gauge and pressure source. Appliances rated below the test pressure must be taken off and their outlets capped. Appliances rated at or above the test pressure can stay on if you close their own shutoff valves.
Safety comes next. Put up safety tape or barriers around the test setup. This keeps people from bumping valves or gauges during the hold time. NFPA 54 says all testing must protect workers and the public. A bumped gauge gives you a wrong reading. A wrong reading can hide a real leak. Take an extra minute to block off the area before you add pressure.
Purge, Pressurize, and Monitor with a Gas Test Pressure Gauge
Purge Before Pressurizing
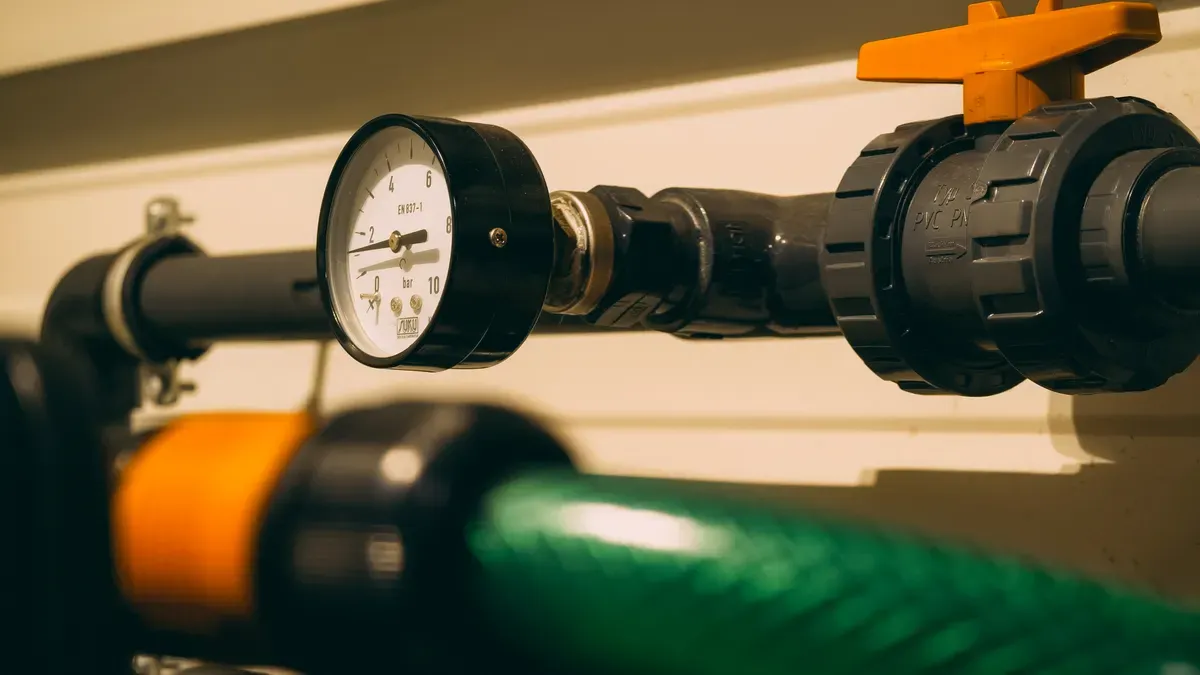
Before you add any pressure, you must purge the gas line. This removes air from the system. Air has oxygen and moisture. Both can interfere with your test. You want the line filled with gas or an inert gas instead.
Nitrogen works well for this step. It is inert, odorless, and low in moisture. It does not react with test equipment parts. Nitrogen pushes out oxygen, moisture, and dirt from the equipment. It also lowers the chance of fire accidents, making the process safer for workers. Portable nitrogen generators can make a limitless supply easily and cheaply.
In pressure-decay testing, you fill the system with dry nitrogen and watch for a pressure drop over time. A falling gauge tells you gas is escaping somewhere.
After purging, you slowly increase the pressure. You can use compressed air or an inert gas to get to the test pressure. A regulator or manifold helps you control the increase. You watch your Gas Test pressure gauge as the needle goes up. Stop when you reach your target pressure.
Watch for Pressure Decay
Once you reach test pressure, you isolate the system and hold it. The hold time usually lasts 15 minutes to 1 hour. During this time, you watch for any pressure drop. A falling gauge means gas is escaping somewhere. Pressure decay leak testing means you pressurize a part, isolate it, and measure how fast pressure drops. Modern tools can detect tiny leaks with accuracy.
The gas you pick affects how well you find leaks. Nitrogen is less thick than air, so it finds smaller leaks. Nitrogen is dry and always the same, so it reduces problems from moisture or dirt. Air has water vapor and dirt that can hurt accuracy or cause rust. Nitrogen keeps steady pressure without reacting or condensing, giving stable test conditions.
Factor | Effect on Pressure Decay Detection Accuracy |
|---|---|
Viscosity | Nitrogen is less thick than air, so it finds smaller leaks. |
Inertness | Nitrogen is inert and does not react with most materials. Air has oxygen, which can cause reactions or damage. |
Consistency | Nitrogen is dry and always the same. Air has water vapor and dirt. |
Pressure Stability | Nitrogen keeps steady pressure without reacting or condensing. |
Safety | Nitrogen is not flammable and not toxic, so it is safer. |
Detection Sensitivity | Nitrogen fills the system and helps keep pressure steady during the test. |
Temperature also affects your readings. Changes in temperature can affect pressure decay readings. Keeping a steady environment with little change in temperature and humidity is important for accurate tests. HVAC systems blowing cold air, open windows, or fans can change test conditions and give wrong results. Raising test pressure creates heat, which can affect results. Longer test times are better to let heat go away before measuring pressure drop.
A calibrated and accurate test gauge gives reliable pressure readings. Check your gauge before each use. A gauge that reads wrong makes you think things are fine. You might pass a line that actually leaks.
Detect Leaks and Correct for Temperature
Use Soap or Detectors
A pressure drop means gas is leaving the pipes. You need to find the exact leak point. Two methods work well together. Soap bubble tests find the exact spot. Electronic detectors scan a large area quickly.
Spray soapy water on every joint and fitting. Bubbles form where gas escapes. This method works only on parts you can see and reach. It catches moderate to large leaks. Tiny leaks may not make visible bubbles. Electronic detectors use sensors to measure gas levels. They detect small leaks across a wide area. That is much more sensitive than your nose. These tools may have alarms and wireless monitoring.
Detection Method | Sensitivity Level |
|---|---|
DIY Soap Bubble Test | Detects moderate to large leaks only |
Professional Electronic Detection | Detects small leaks across a wide area |
For homes, put carbon monoxide and natural gas detectors near sleeping areas and on every floor. Physical signs also help. A rotten-egg smell, bubbling water, dead plants, or a hissing sound can mean a leak. After you find and fix a leak, test the system again. For new gas lines, the full process includes getting the line ready, sealing the ends, adding pressure, holding it, checking for leaks, fixing them, and testing again.
Correct for Temperature Shifts
Temperature changes affect pressure readings. A sealed system shows pressure changes even with no leak. Use temperature correction for shifts over 5°F. This makes sure your Gas Test pressure gauge gives accurate readings.
The correction formula comes from Gay-Lussac's law for a sealed, fixed-volume system:
P₂(gauge) = (P₁ + 14.696) × (T₂ + 459.67) / (T₁ + 459.67) − 14.696
P₁ is the starting gauge pressure in psi. P₂ is the expected gauge pressure at the final temperature. T₁ and T₂ are the start and end temperatures in °F. The number 14.696 psi changes gauge pressure to absolute pressure. The number 459.67 changes °F to absolute temperature.
Real-world data shows how pressure shifts with temperature. One report noted a 1 psi drop over a 22–23°F change. Another showed a 1 psi drop over a 55°F change. These numbers differ by system. Always adjust your readings before you call a pressure drop a leak.
Handle Special Conditions and Document Results
Use Diaphragm Protectors
Some gas lines carry dirty, corrosive, or thick fluids. These conditions can block or harm a normal gauge. A diaphragm protector fixes this problem. It makes a barrier between the gas and the gauge parts inside. The diaphragm bends as pressure changes. This movement passes pressure to the gauge without letting the gas touch the measuring part. You protect the gauge and keep readings correct at the same time.
Proper torque matters when you install the gauge and protector. Tightening too much can crack the diaphragm or strip the threads. Tightening too little leaves a path for leaks. Follow the maker's torque specification for your connection size. A good seal protects both the gauge and the test results.
Document Test Details
Inspectors want a clear record of every test. Write down the date, test pressure, hold duration, gauge used, temperature, and results. The table below shows the details a complete test report should include.
Category | Details to Record |
|---|---|
Inspection identification | Pipeline section, location, test date and times, applicable standard |
Test medium and equipment | Test medium, gauge ID, calibration date |
Pressure and duration | Actual test pressure, required minimum, total hold time |
Leak observations | Pressure trend, visible leaks, corrective action |
Final verification | Pass or fail result, technician signature, filing location |
Some areas require written notice before inspection. For example, Section 27-920 requires the permit holder to give at least two days' prior written notice that gas piping work is ready for inspection and test. After the test, release pressure slowly from the system. Then disconnect your Gas Test pressure gauge and store it properly.
Yaobo's Pressure Gauge product line handles demanding industrial applications. Every gauge comes backed by a 24-month warranty and a zero-leakage guarantee. That reliability matters when your test results depend on accurate readings.
You now have a clear plan from beginning to end. Pick a 2% accuracy Gas Test pressure gauge using the one-fifth rule. Set up at 6 psi, isolate the section, and purge the line. Watch for pressure decay, find leaks, correct for temperature shifts, and write down every result. Each step keeps you safe and helps you pass inspection.
If any step feels unsure, call a licensed gas professional. Local plumbing companies handle pressure testing, permits, and city inspections. Your local code office can also confirm the required test pressure and hold time. Check with them before you begin.
FAQ
Why does a 30 lb gauge work for a 6 psi gas line test?
The one-fifth rule sets the answer. A gauge's top range should reach at least five times your test pressure. Six psi times five equals 30. This keeps the needle near the middle of the dial, where readings stay most accurate.
Can I use a gauge with a 2.5% accuracy rating instead of 2%?
Yes, for many low-pressure tests. The PG-01E carries a 2.5% accuracy rating and a 2-inch dial. It measures tank pressure up to 15 psi in precise 1/10th increments. Match the gauge to your test conditions and local code.
How long should I hold pressure during the test?
Hold time typically runs 15 minutes to 1 hour. Watch the gauge for any pressure decay during that window. A falling needle means gas is escaping. Check your local code, because your inspector sets the final hold duration.
What should I do if the temperature changes during my test?
Correct for temperature shifts over 5°F. A sealed system shows pressure changes even without a leak. Use the temperature correction formula from Gay-Lussac's law. Adjust your readings before you call a pressure drop a leak.
What details should I record for the inspection?
Write down the date, test pressure, hold duration, gauge used, temperature, and results. Note the pipeline section, test medium, and gauge calibration date. Record any leaks found and the corrective action. A complete report helps you pass inspection.
Hi, I’m Niki, founder of Changzhou Yaobo Instruments & Meters Co., Ltd. and a senior instrumentation R&D engineer with over 20 years of experience in pressure measurement.
I specialize in pressure gauge selection, troubleshooting, and application solutions for demanding industries such as chemical, oil and gas, and metallurgy. Through this blog, I share practical insights from real-world industrial experience to help professionals select reliable instruments and avoid common application issues.




View More(Total0)Comment lists